What is anodisation?
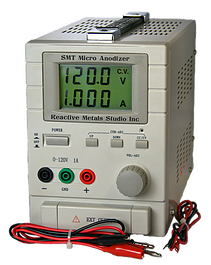
An anodising machine uses a passivation process to thicken the oxide layer on the surface of reactive metals by passing electricity through an electrolyte solution. This is normally used for changing the colour of the metal to funky colours, but the process forms oxygen bubbles on the surface of the metal which can efficiently remove present debris and residues for any metal at lower voltages.

Reanodising Used Jewellery
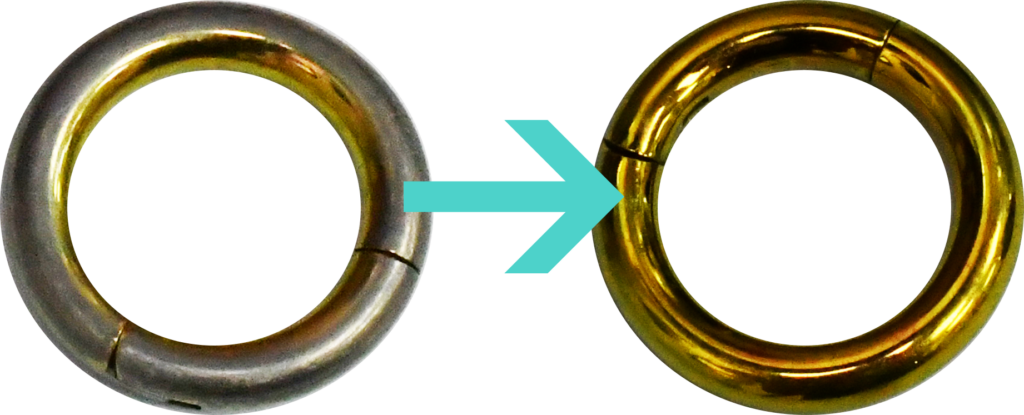
The oxide layer of an anodised piece of jewellery will often become worn over time, resulting in the colour to appear faded or uneven and may need to be reanodised to restore uniformity. This is often more apparent when used in healing piercings.
It should be noted that, just like regular anodising, you can only reanodise to the same or higher voltage, and any biomatter on the jewellery will lead to uneven colour.
Extra care needs to be taken to ensure that you do not cross-contaminate your anodiser and leads, even when using a single-use disposable setup.
Disposable “Double cup” anodising setup
One way to safely do this is to use two plastic cups, a single-use piercing needle, and a titanium taper.
Ensure you have fully processed and cleaned the jewellery prior, and take care to avoid cross-contamination.
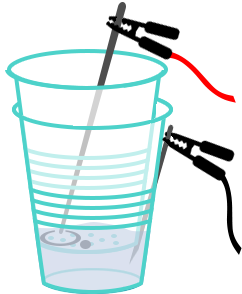
- Using a piercing needle blade (16g or thicker is suggested), perforate a number of holes in the bottom of a disposable cup to later allow fluid to pass through. If you find anodisation slow, try more or larger holes
- Fill a second cup with approximately 4cm of anodising solution or around ⅓ of the cup’s volume
- Pierce the second cup at least 1cm ABOVE the solution level and point the needle downwards
- Slowly nest the cup with holes inside the cup filled with solution. Ensure the needle is in the solution
- The anodising solution will slowly come up through the holes as you push down.
- Attach the cathode (black) lead to the end of needle blade
- Attach the anode (red) lead to a titanium taper or disposable niobium/titanium rod
- Set the desired voltage on your anodiser
- Place the jewellery into the liquid in the bottom of the top cup
- Repeatedly touch the anode (rod connected to red lead) against jewellery until desired color is achieved, ensuring that the leads and clips are never allowed to touch the solution or jewellery
- Rinse off jewellery with distilled water
- Dry jewellery thoroughly with paper towel
- Dispose of sharps (and rod if fully disposable) in sharps container
- Place titanium taper (if used) with soiled tools for reprocessing
- Dispose of both cups and used solutions into biological bin
Although a similar setup can be done with a single cup, the addition of the second cup not only allows the cathode to be safely protected against accidental grounding, but also reduces the chance of spillage.
Source